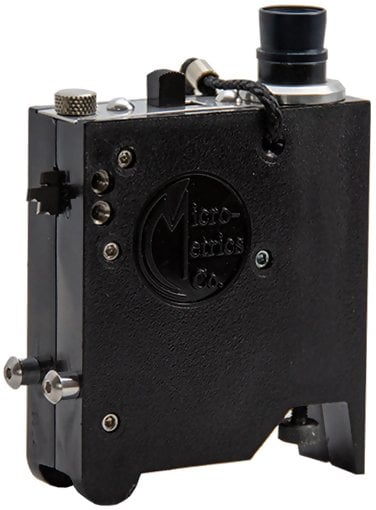
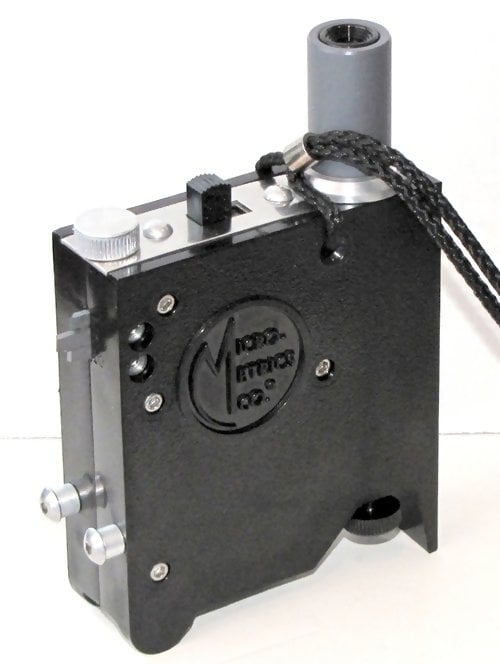
Micro-Metrics OG214 Tooke Paint Inspection Gauge IV Plastic Body with 1x, 2x & 10x Cutting Tips
Similar Products to Consider
This less expensive Gage is identical to the OG212, but made of molded polycarbonate plastic.
Precision tool for inspection and thickness measurement of single or multiple coats on any substrate.
The Micro-Metrics OG204 / OG214 Dual-Measure Tooke Gage is a precision tool for inspection and dry-film thickness measurement (in accordance with ASTM D4138) of single or multiple coats on any substrate, and for microscopic observation and measurement of substrate and film defects.
The Micro-Metrics OG204 / OG214 Dual-Measure Tooke Gage is used to assess sandblast cleaning work, to measure plating and paint thickness on ceramics, metal, wood, and concrete, and even to measure protective backing thickness on mirrors. This tooke Gage is virtually the only tool for measuring paint on plastics.
Other uses of the Micro-Metrics OG204 / OG214 Dual-Measure Tooke Gage include assessment of substrate conditions and coating adhesion, and observation of microscopic cracking, tendency for brittleness, cratering, or other microscopic film symptoms.
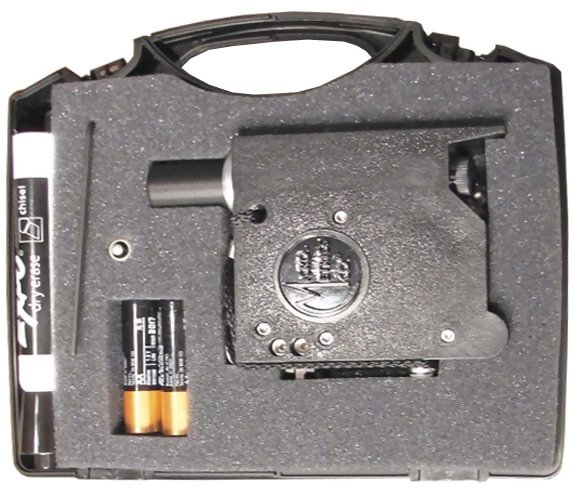
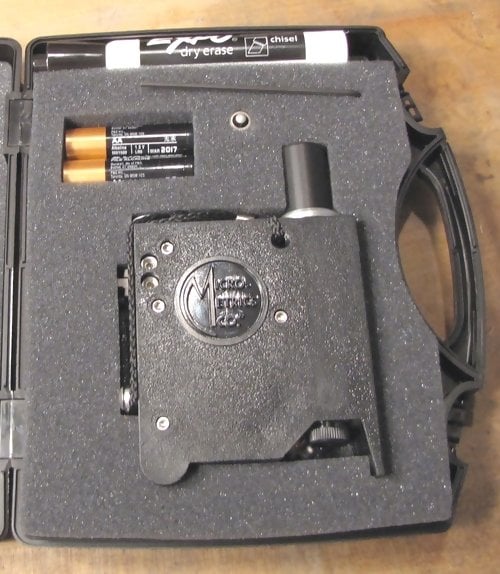
Kit Contents
- Micro-Metrics OG204 / OG214 Plastic Tooke Paint Inspection Gage
- Two Spare Batteries
- Spare LED Bulb
- Indelible Marking Pen
- Hex Wrench
- Technical Data Sheet
- Carrying Case
Features
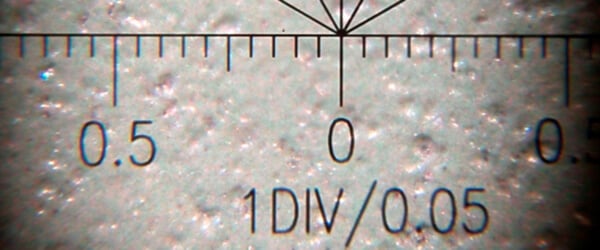
- Dual-Measure scope, with 1 mil per hashmark space above the line and 20 microns per hashmark space below the line scale.
- Measures thickness of coatings applied to wood, plastic, cement, glass, ceramics, mirror backings, metal, etc.
- Assists in measuring brittleness and adhesion of coatings and materials.
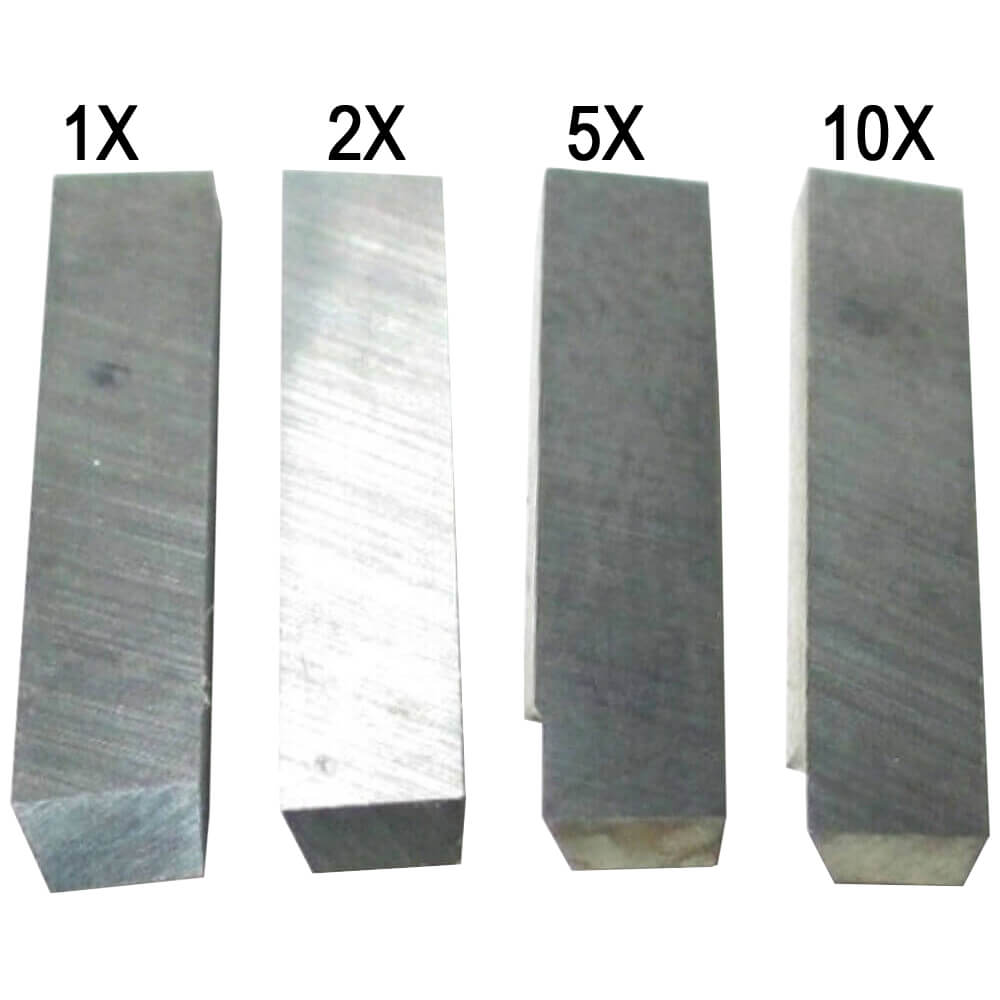
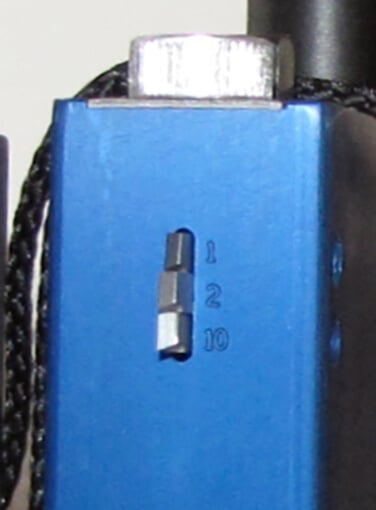
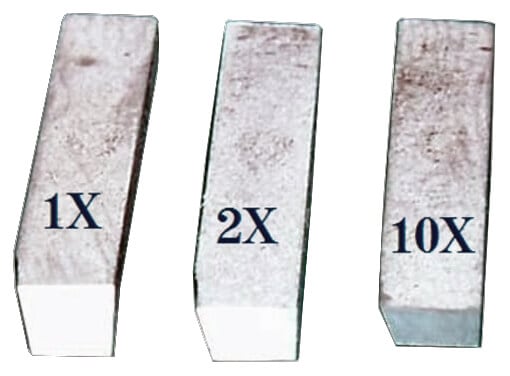
- Both the OG212 and OG214 are supplied with 1X, 2X, and 10X cutting tips installed in the Gage body. An optional 5X cutting tip is available.
- Gauges come in a rugged plastic carrying case with cutting tip wrench, indelible marker, spare LED bulb, and spare batteries
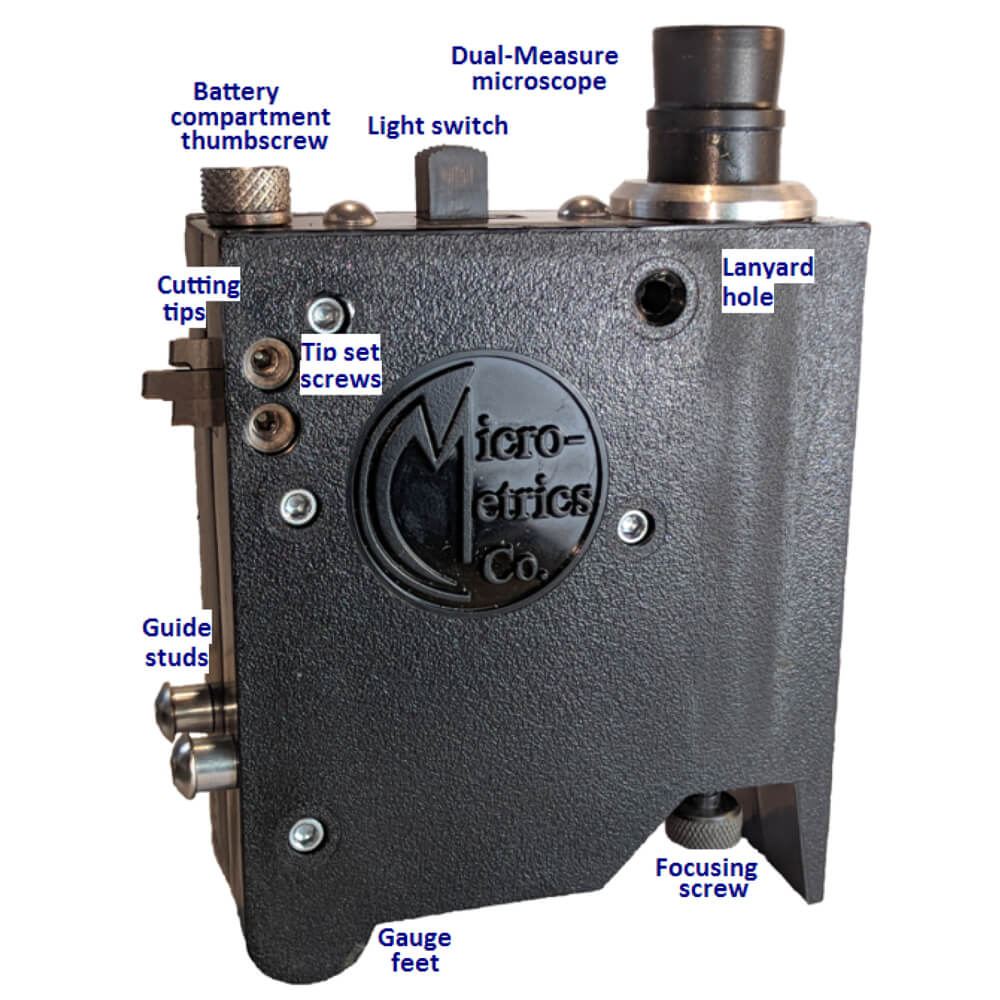
The Tooke Gage uses an illuminated 50-power microscope equipped with the new Dual-Measure microscope with a measuring reticle marked in both mils and microns. The gage mounts three tungsten carbide cutting tips for precise incision of the work surface. Standard cutting tips are 1X, 2X, and 10X. (An optional 5X tip is available.) Also, a Gage can be ordered with any three tips desired, or with a single precision-ground tip and two blanks.
Direct measurement of total dry-film coating thickness and thickness of individual coats of paint is a unique capability of the Tooke Paint Inspection Gage. Thus, in addition to routine use, it often serves as a referee instrument to calibrate indirect or non-destructive thickness measuring instruments.
Applications
The Tooke Gage has been used to assess sandblast cleaning work, to measure plating and paint thickness on ceramics, metal, wood, and concrete, and even to measure protective backing thickness on mirrors. It is virtually the only tool for measuring paint on plastics. The quality of the incision in the film discloses much about the characteristics of the brittleness and adhesion of the material.
Other uses include assessment of substrate conditions and coating adhesion, and observation of microscopic cracking, tendency for brittleness, cratering, or other microscopic film symptoms.
Construction
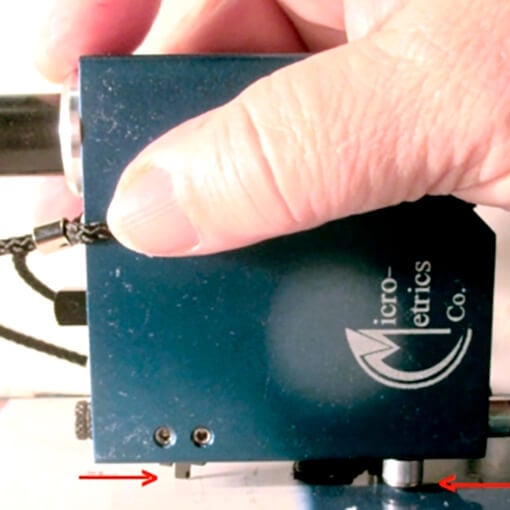
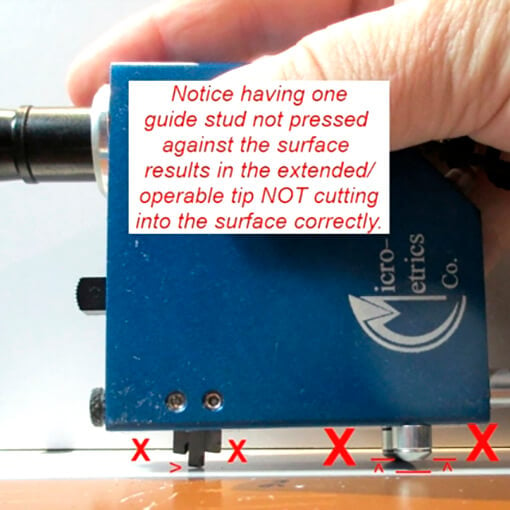
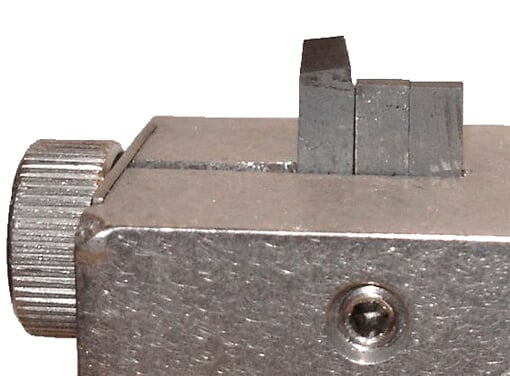
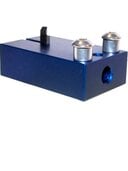
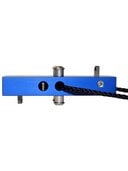
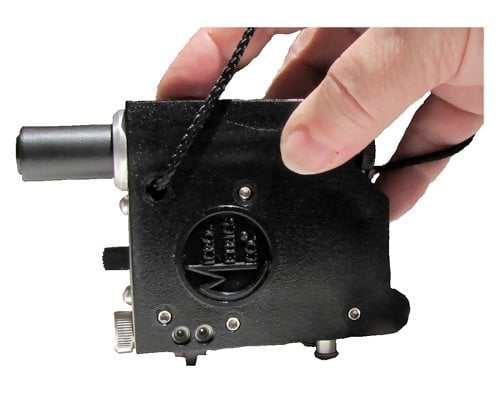
The molded polycarbonate plastic Gage body contains an illuminated microscope and mounts three tungsten-carbide cutting tips (that incise the V-groove for measuring) on the narrow side. Two guide studs project from the body on the same side as the cutting tips. The tripod thus formed by the three legs (guide studs and cutting tip) provides precise alignment of the tool with the surface to be grooved. A lanyard with keeper looped through the body secures the instrument to the inspectors wrist. The entire unit is designed for convenience and completeness in field inspection tasks.
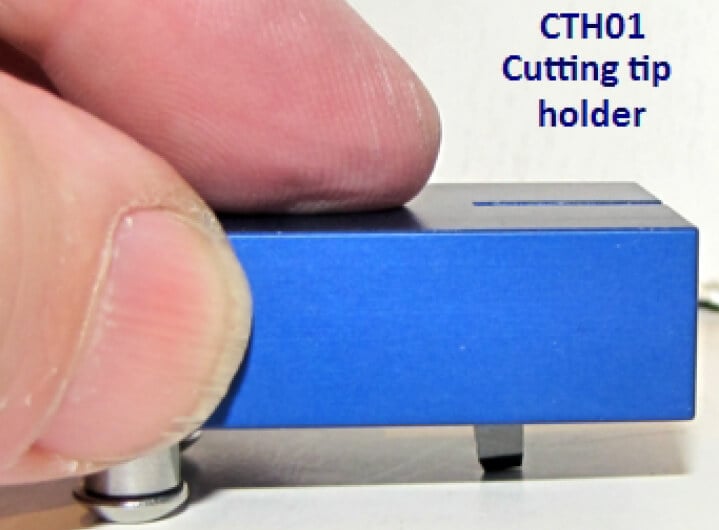
Two cutting tip holders are available
The anodized Dual-Measure microscope reticle is marked in mils and microns.
Operation
A special cutting tool (the cutting tip) that is integral to the Gage is used to incise a small precision V-groove through the paint film and into the substrate.
The Gage in standard configuration mounts 1X, 2X, and 10X cutting tips. (An optional 5X tip is available.) The Gage can be ordered in any desired configuration, such as with three tips of the same size. You may also order (for a lower price) a Gage with only a single cutting tip and two blank tips (spacers).
Dual-Measure Microscope
Measurement with a Tooke Gage is a function of the cutting tip face-angle and NOT of the microscope.
One of the best things about the new Dual-Measure scopes is the return to an easy calculation system related to the cutting tip face-angle. As described in the measuring demo, and shown in the drawings in the Geometry section, below, count the hashmarks spaces for each layer of coating, and then calculate the coating depth using the the Dual-Measure scope conversion shown below.
Conversion for the Dual-Measure scope:
| Cutting tip used: | Face Ratio | Each counted hash measures: |
| 1X | 1 : 1 | 1 mil |
| 2X | 1 : 2 | 1/2 mil |
| 10X | 1 : 10 | 1/10 mil |
The Geometry of the Tooke Gage Incision
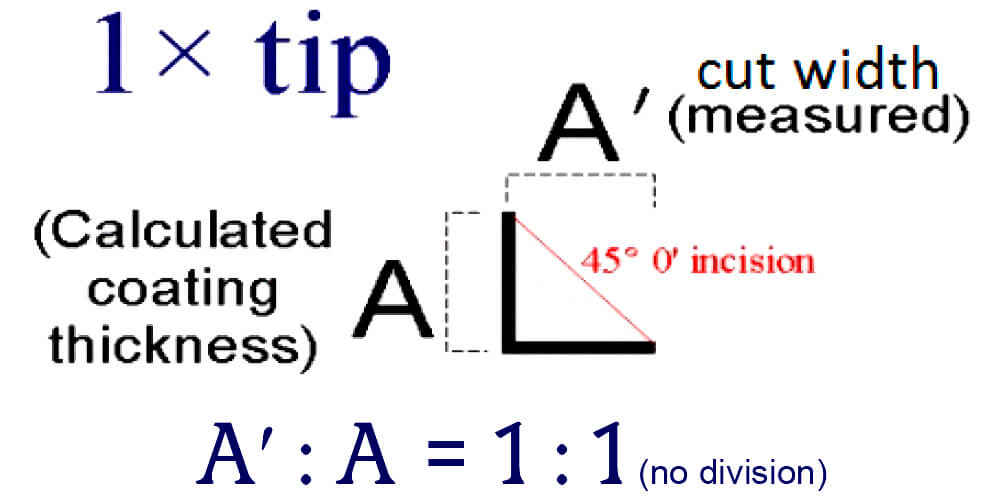
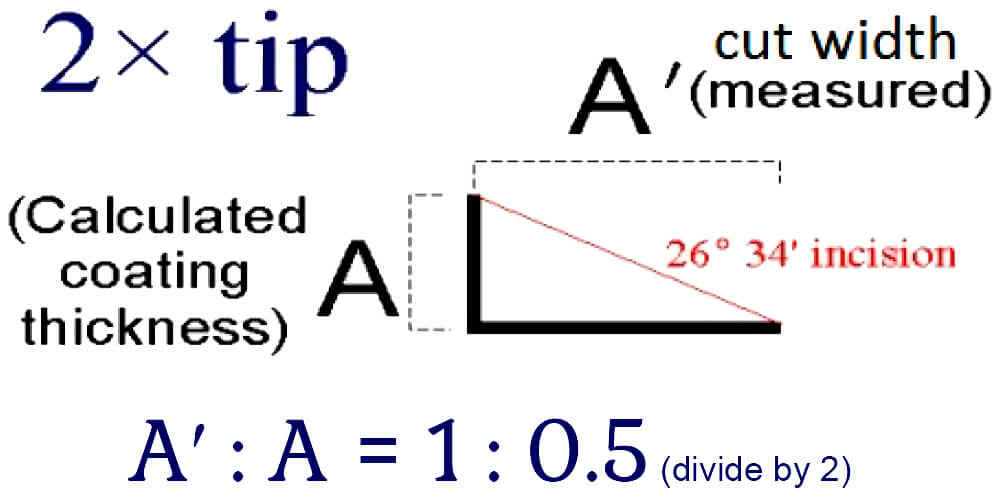
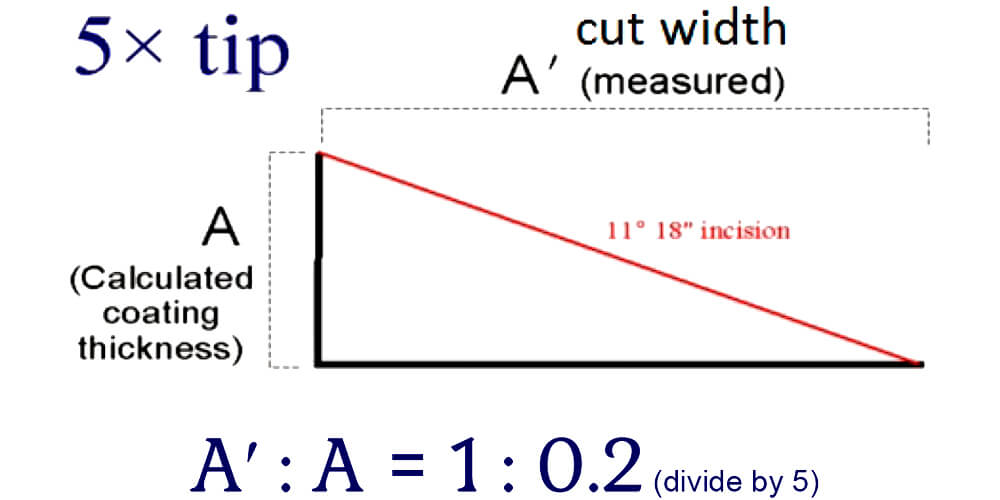
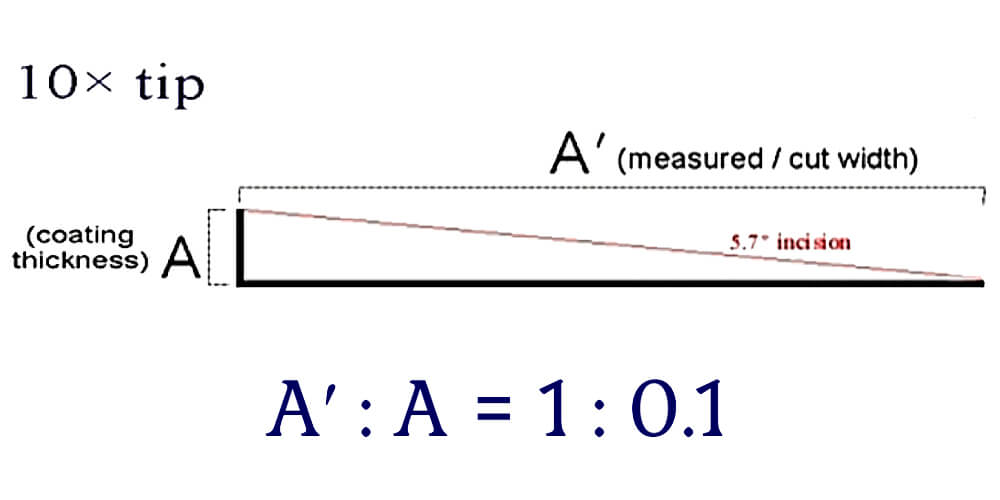
The easiest example of the process is demonstrated using the 1X cutting tip. In essence, you are cutting a triangle into your coating by incising the hypotenuse of a right-angle triangle. With the 45 precision-ground face of the 1X tip, youre cutting an equi-lateral triangle: 1X tip has a 1 : 1 ratio. (See the 1X tip drawing below.) That is, by counting the hashmarks that define the horizontal triangle-side at the bottom of the triangle (and your view through the microscope), you are measuring across the cut-width. The 1:1 ratio means your cut-width equals that is your coating depth. With the 10X tip, youre drawing a right-angle triangle, and one-tenth (1/10) the number of hashmarks across the cut-width is your coating depth. (See 10X figure below.)
Cutting tip diagram and ratio of cut-width : coating-depth
A Measuring Demonstration
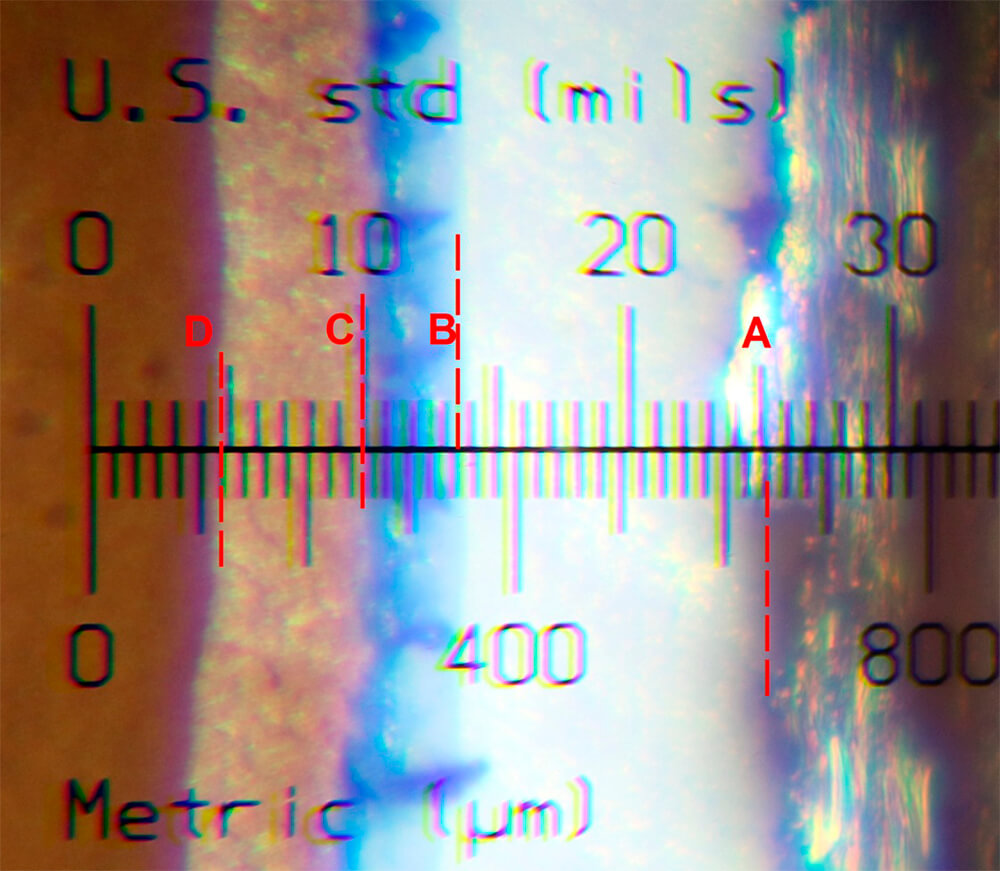
The zero-line of the Dual-Measure reticle at right is not lined up with the edge of a coating (nor does it need to be, as any hashmark will do). The zero-line is off onto the brown top-coat, well beyond the edge of the incision.
- Line A is on the right edge of the (white-appearing) substrate. (The incision into the substrate, on the right past A, reflects silver in the photo.)
- Line B marks the bottom of the blue primer coating. Begin measuring
(leftward) at Line B. - Line C is the top of the primer and the bottom of a brown top coat.
- Line D is the end of the incision at the top coat.
If needed, the top of the top-coat can be made easier to see using the black marker provided with the Tooke Gage.In this photo, the darker brown of the top is easy enough to differentiate from the lighter tan of the interior of the top coat.
Thus, in the demonstration photo above,the thickness measured for each different tip face-angle will be:
Above the line on the Dual-Measure or the old-style scope (U.S. standard-units: 1 mil per hash)
| Coating | 1mil /hashmark space | 1 tip, mils | 2 tip, mils | 5 tip, mils | 10 tip, mils |
| A-to-B substrate top (do NOT measure) | 11.25 hashmark spaces | 11.25 | 5.6 | 2.25 | 1.1 |
| B-to-C Blue primer | 3.75 hashmark spaces | 3.75 | 1.9 | 0.75 | 0.4 |
| C-to-D Tan top-coat | 5 hashmark spaces | 5 | 2.5 | 1 | 0.5 |
Below the line on the Dual-Measure or the old-style scope (metric units: 20 m per hash)
| Coating | 20 m /hashmark space | 1 tip, m | 2 tip, m | 5 tip, m | 10 tip, m |
| A-to-B substrate top (do NOT measure) | 15 hashmark spaces | 300 | 150 | 60 | 30 |
| B-to-C Blue primer | 4 hashmark spaces | 80 | 40 | 16 | 8 |
| C-to-D Tan top-coat | 7 hashmark spaces | 140 | 70 | 28 | 14 |
Precision and calibration:
Note:Every microscope is validated before sale against a certified Gage blocks traceable to the National Institute of Standards & Technology (NIST). An OEM calibration certificate can be ordered (for cost) with your new Gage or your Gage can be sent in for calibration and certification.Call or email for details.
Replacement Tungsten-carbide Cutting Tips.
Related Products
Micro-Metrics CTH01 Cutting Tip Holder
- The Cutting Tip Holder, at a little under two inches long, allows easy use of a cutting tip without having to manipulate the Tooke Paint Inspection Gage to make the incision and then manipulate the Gage again to view the incision through the microscope.
Micro-Metrics CTH02 Cutting Tip Holder
- The CTH02 (two-tip) Cutting Tip Holder allows easy use of carbide cutting tips without having to manipulate the Tooke Paint Inspection Gage to make the incision and then manipulate the Gage again to view the incision through the microscope.
Downloads
| Micro-Metrics OG204 / OG214 Dual-Measure Tooke Gage - Data Sheet |
| Micro-Metrics OG204 / OG214 Dual-Measure Tooke Gage - Dual-Measure Scope Swap Program |
| Micro-Metrics OG204 / OG214 Dual-Measure Tooke Gage - Old Style |


